How to use Grab for mac utility on Mac-OS and Mac OS X?

grab for mac is an app that certainly allows you to take screenshots of your screen. In other words, grab encourages capturing either the entire window, whole screen, or selected part of your screen. Particularly, it is the development for macOS and Mac OS X. However, there are so many other apps and services that perform similar function as that of grab. But this little utility proves to be a decent dude and holds absolutely an exceptional value. On the other hand, you can also utilize built-in Command-Shift–3 and Command-Shift–4 shortcuts. But they cannot compete the proficiency of grab. So, let’s have a look at extraordinary features of grab.
Features of grab for mac
- Captures portion of a screen.
- Takes screenshots of window.
- Also facilitates you to capture a timed screen. To clarify, grab gives you 10 seconds for set-up in which you can move any window or open any menu. So that you can include them in the screenshot.
- Moreover, showing a pointer in screenshots is absolutely optional as you can hide it as well. For this, click on preferences and select a different pointer type or no pointer.
- Can capture your entire screen also.
- Allows you to save screenshots in different formats for instance, JPEG, PNG, or even TIFF.
- Lastly, captured screens contain a small tooltip that exhibits your pointer’s exact coordinate location on-screen.
How can you access grab?
You can step into grab for mac by following ways:
- Go to ‘utilities folder’ under ‘application’ and you will certainly find ‘grab’ there.
- Or you can type ‘/Applications/Utilities/Grab.app’ in finder.
- Moreover, you may also go to ‘Launchpad’, click ‘other’ and there you go with ‘grab’.
- Open ‘spotlight search’ and type ‘grab’ there.
How to take picture of a selected portion of your screen?

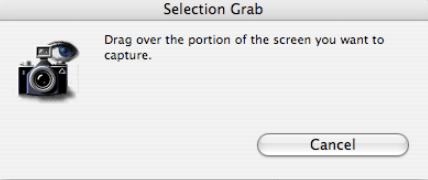
Either click on Grab > Capture > Selection or employ the keyboard shortcut, Shift+Command+A. With the help of both ways, you can breezily capture a particular area of your screen by dragging around. As a result of which, the screenshot opens in a new window which you can save on your PC.
How to take picture of a window:
Either click on Grab > Capture > Window or employ the keyboard shortcut, Shift+Command+W. With the assistance of both ways, you can easily capture your selected window. In addition, a prompt guides you how to select the window of which you want to take screenshot. So, click the ‘choose window’.
How to take picture of the whole screen:

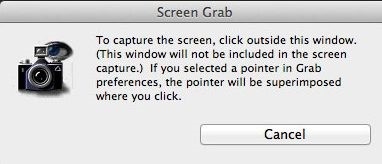
Either click on Grab > Capture > Screen or utilize the keyboard shortcut, Command+Z. with the help of both ways, you can take a screenshot of whole screen. Furthermore, a prompt guides you to make a click, when you are ready to take picture.
How to take picture of a timed screen:

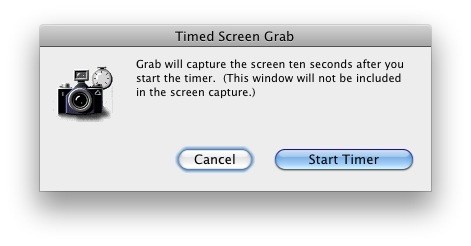
Either click on Grab > Capture > Timed Screen or use the keyboard shortcut Shift+Command+Z. while utilizing any of the course, you can initiate a 10-second timer. Click ‘start timer’ on the prompt and as a result, you will be granted 10 seconds to stage your shot. Utilize this time in best possible way and make arrangements as the grab will take screenshot right after 10 seconds. Above all, this coolest feature promotes capturing of Mac’s menu and menu options.
In addition, click on Edit > Inspector or use the keyboard shortcut Command+1 to explore image’s view size and depth.
How to save screenshots:
Click on File > Save and save your grab screenshots in a smoother way. Firstly, write name, add a tag, choose the folder where you want to save and furthermore, select your file type. However, screenshots get saved to TIFF by default. But you can save them to TIFF, JPEG, or PNG with the help of above-described method. Moreover, the preview app allows you to view, crop or alter your screenshots. In addition, if you want to share your screenshot instantly, click on File > Share
Image quality:
As your grab for mac takes pictures of your display, so its resolution depends on your display’s resolution. Therefore in order to enjoy the best image quality, try to opt for the highest resolution that your display allows. Click on System Preferences > Displays and inspect that either you are obtaining highest pixels available for your display or not.


